CSS Basics
Table of Contents
Terms: CSS, rule, selector, property
Introduction
Cascading Style Sheets (CSS) are documents containing rules for how webpage content should be presented. CSS works alongside HTML in a browser. To get an idea of how much of a typical website’s appearance is controlled with CSS, look at the difference when CSS is disabled in the browser for LSU.edu:
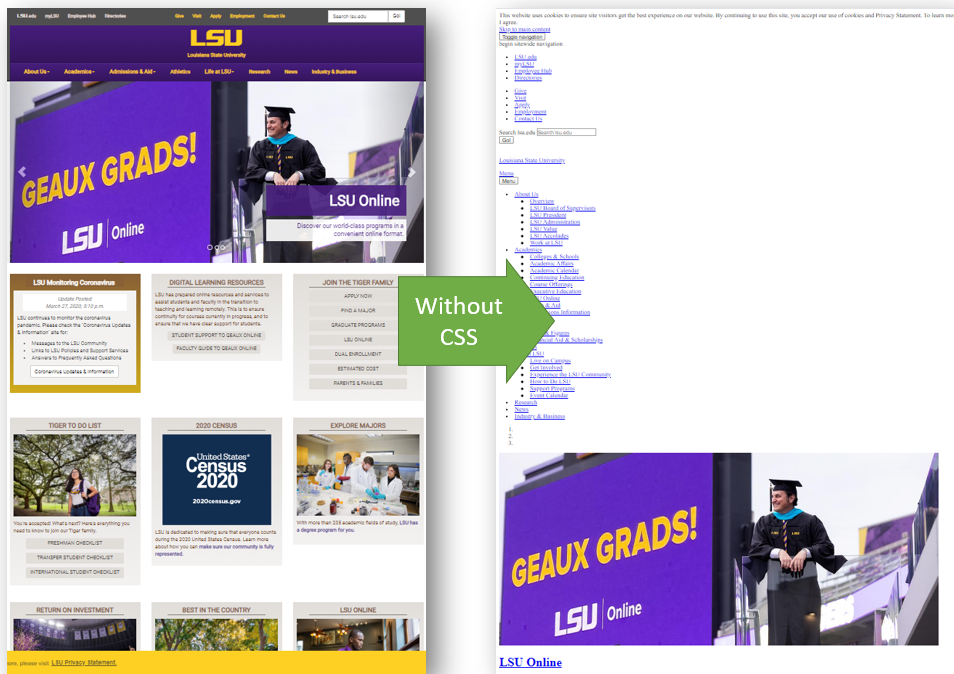 Figure 1. Comparison of a webpage rendered in a browser with CSS and without CSS.
The comparison in the figure shows that CSS rules control not only colors and fonts but also the entire structure of the page.
CSS for Looks
To see CSS in action, let us revisit the h1 tag example from the HTML lesson, a simple page with heading text:
<h1>Heading Here</h1>
<p>Paragraph goes here.</p>
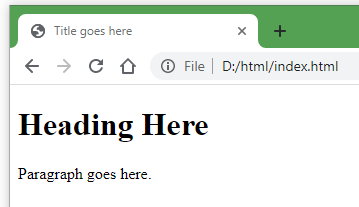
By default, the browser rendered the heading text with the font Times New Roman and the color black. We can use CSS to change the font to Arial and color to gray. Below is a CSS rule. Note the syntax:
- The selector is
h1, meaning the rule will apply to allh1elements in the HTML. - The property:value pair is
font-family: 'Arial'. - Property:value pairs are contained within curly brackets
{ }. - Each property:value pair ends with a semicolon
;
h1 {
  color: Gray;
  font-family: 'Arial';
}
The result in this example is a heading now rendered differently in the browser:
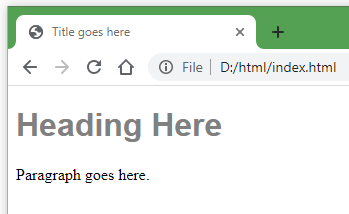
These groups of CSS properties that get applied to HTML elements are called rules. CSS rules are normally placed in a .css file and linked to the HTML file (more on that later). Each rule begins with a selector, which can be HTML tags, class names, and IDs. The selectors tell the browser which HTML elements the rule should be applied to. In the example above, h1 is the selector.
Edit this CodeSandbox to see the rules work for yourself. Try changing the font and color names.
Can you figure out how to change the color and font of the paragraph text in that example?
CSS for structure
For the web maps that we will create in this course, we will need to use CSS to make a place on the webpage to draw a map. Guides typically use the div (division) tag to create a sort of box to hold a map. We will modify the previous example to draw a div box around the paragraph text.
In the CodeSandbox, switch to the index.html tab to add these tags. First, enclose the paragraph tags within div tags, like this:
<div>
  <p>Paragraph goes here.</p>
</div>
If you insert that into the CodeSandbox, there is no change in appearance because, by default, the browser does not draw a border around a div. Switch back to the style.css tab and create a CSS rule to draw a border. The result should be a black border around the words “Paragraph goes here.”
div {
  border-style: solid;
}
In addition to the border-style property, add another property into that rule to give the div an on-screen height of 400 pixels.
div {
  border-style: solid;
  height: 400px;
}
Our rules so far, for h1 and div, will affect every h1 and div on our page. What if we only want a rule to apply to a single div? HTML tags can have attributes that help identify them, which is useful for applying CSS rules to specific tags. Replace your CodeSandbox’s HTML and CSS with the code below.
HTML tags with class and id attributes:
<h1 class="my-class">Heading Here</h1>
<div id="my-id">
  <p>Paragraph goes here.</p>
</div>
CSS with a class selector (preceded by a period) and an ID selector (preceded with a #):
.my-class {
  font-family: Arial;
  color: Gray
}
#my-id {
  border-style: solid;
  height: 400px;
}
Our selectors are no longer the elements h1 and div. Instead, we are using the class my-class and the ID my-id to identify the h1 and div elements, respectively. Those class and ID selectors correspond to the attributes in the HTML code. The h1 heading in the HTML has been assigned a class of my-class, and the div has been assigned an ID of my-id. The examples my-class and my-id could be replaced with anything that makes sense, such as main-heading and bigDiv, but avoid spaces and special characters besides the hyphen.
To summarize:
class="my-class"(HTML) corresponds to.my-class(CSS)id="my-id"(HTML) corresponds to#my-id(CSS)
What is the difference between an ID and a class attribute? An ID should have a unique value, whereas a class can be reused on multiple tags.
Therefore, if we wanted the paragraph text to be formatted as gray Arial like the heading, we could give the p tag the same class:
<p class="my-class">Paragraph goes here.</p>
However, you should not create another div using the same ID value. If you want other div tags to also have a black border, you should use a class instead.
Most web map libraries require a map to be contained in a div with an id attribute, which is the main reason why the id attribute is included in this lesson.
Our example now contains HTML and CSS, giving us a static (unchanging) webpage, but it does not allow for any interaction, which is something we will need later with our web maps. For that, we need JavaScript.
Summary
There is much, much more to CSS than will be covered in this course, but an understanding of CSS selectors, properties, and their relationship with the id and class attributes in HTML will prepare you to follow guides for Web GIS JavaScript libraries.
Other Learning Resources
- Codecademy - Learn CSS: Selectors and Visual Rules
- This is a long lesson but doing only the first few parts could still be helpful.
- Mozilla - CSS Basics
↑ Top
← Back to Lessons